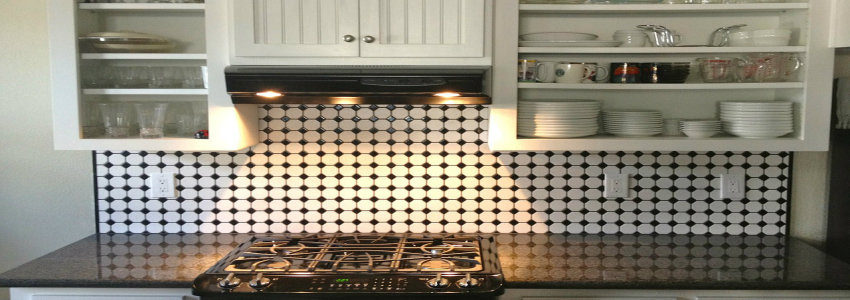
The easiest method of renovating rooms with high humidity, such as bathrooms and kitchens, is applying ceramic tiles. Although it can be difficult to choose the right tiles for the bathroom, this remains one of the simples solutions for all bathroom sizes.
The advantage of this option is given by the ceramic material resistant to moisture, abrasion and moderate mechanical shocks, easy maintenance, relatively easy execution and affordable lifespan, compared to other materials.
A job well done may guarantee a durable lifespan, at least 10 years, but it can easily reach 20 years or more. Most often wall tiles are changed because of design considerations, common patterns that are older are considered unfit for new trends in interior design.
In this case, the question of replacing the tile and often inconvenience of the demolition is something to be considered. The dust, dirt and noise bothers both home owners and, in some cases, the neighbors. There is the possibility that the work is undertaken with a minimum disturbance and under the same conditions of quality, opting for the solution of “over plating”. Especially for a kitchen remodel, where there is already much work to be done, this solution might come in very handy.
When is it possible to apply new tiles over old ones
The compulsory condition for the execution of such work is testing the adhesion of existing tiles as a substrate, namely plates must be fixed securely on the surface, which can be checked by slight hammering the tiles and the sound should not be a “blank “. If necessary, you can remove a small number of tiles that could pose problems for adherence; otherwise the tiles might be too loose and you can’t use the “over plating” solution.
The next step is cleaning the surface that needs to be plated, remove all traces of fat or various non-stick materials, traces of adhesives etc.
Ceramic tile surface is often very glossy which will require the application of a pre-treatment to ensure adhesion of the coating used. It’s necessary to use a special primer that should ensure a strong adherence bridge between materials on critical surfaces. The primer must dry for at least 2-4 hours.
You can move on to the actual plating, placing the tiles on the previously prepared surface, using a super-flexible or flexible adhesive for ceramic tiles. The adhesive will have enough grip to enable and support the new ceramic layer, without having to take other special measures, just leaving the proper gasps between tiles.
Adding the finishing touches
After placing all the tiles and allowing enough time for the adhesive to do its job, it’s time to perform the cleaning, removing any traces of the adhesive and then applying the grout for the joints. The grout is chosen depending on the specific size and space between joints, usually common joints have a width of about 2 – 4mm correlated with the size and type of tile. You can opt for a special grout for damp spaces, a waterproof grout, both in a matching shade of the color used on ceramic tiles finish. Grout is applied with a rubber trowel and after the surface is dry, in about 5-10 minutes; it’s time to remove excess with a sponge or a cloth, taking care not to remove too much material in the joints.
Finally, joining all areas of the walls, between walls and floors or areas of various sanitary seal, it’s time to apply a bead of silicone for the bathroom, with a shade matching that of the joints.
Keep in mind that, while this solution might seem very convenient, you need to make sure that the tiles applied in your kitchen or in the bathroom are installed properly, because you don’t want to have any loose tiles that you need to fix all the time.
If you’re thinking about a bathroom remodeling or if you want to renovate other rooms in your home, make sure to acquire the services of a reliable contractor, who can help you plan the remodeling and offering you custom solutions according to your needs.